
- Home
- New Designs
-
Shop by Price
-
Categories & Themes
-
Tutorials & More
- Sybrand Photography
- Contact Us
Get Started: I decided to painted the Pink areas 1st, from dark Pink to lightest Pink. Using the same Pigment, I mixed a few shavings of (0700 Fuchsia) Block with about a Teaspoon of Aloe Gel. This ended up....read more
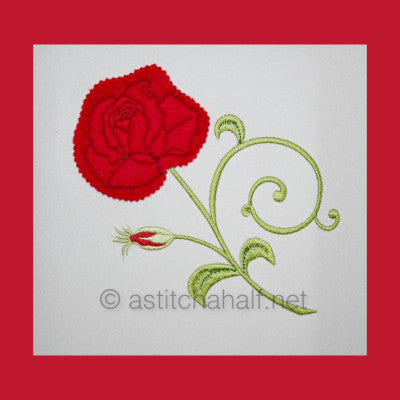
Do you have little pieces of fabric that you simply cannot throw away? With these creative designs you now have the opportunity to use your favorite snips and bits of fabric.
Here we have a step by step Photo Tutorial of the The Snips n Bits Applique Rose to show you how easy it is to be crafty and frugal at the same time.
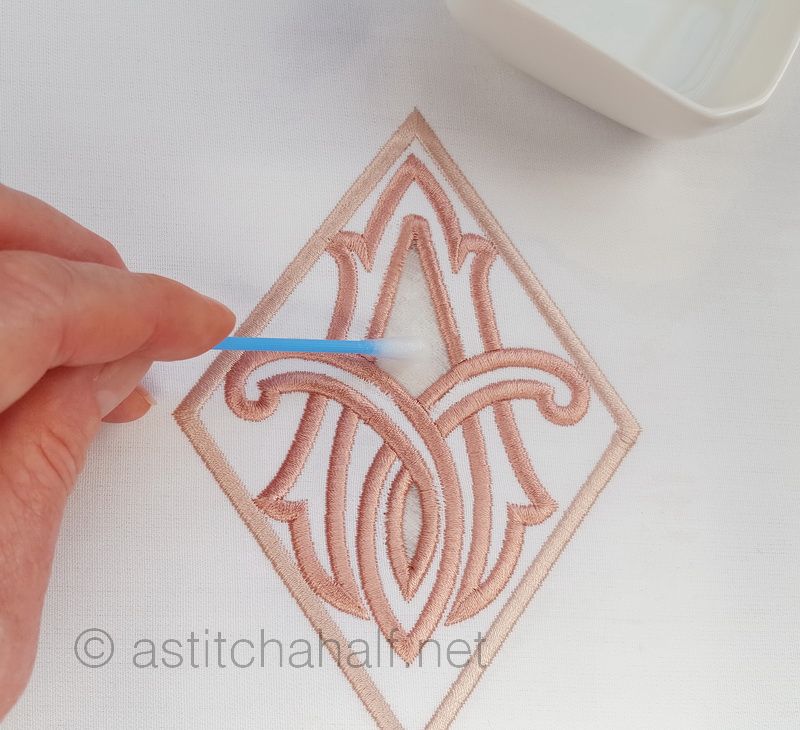

To Complete a Cutwork Design you will need:


I used the Richelieu Cutwork Monogram to demonstrate the Cutwork technique.
Click HERE for the Richelieu Cutwork Monograms
Click HERE for the Cutwork designs
Happy stitching Friends and we look forward to see your Beautiful Projects!
Annemarie
www.astitchahalf.net
e-mail: annemarie@astitchahalf.com
Come and make Slippers with us with this Step by Step "Slippers Tutorial".
Step 1:
1st Color stop will indicate where the fabric and batting must be placed...
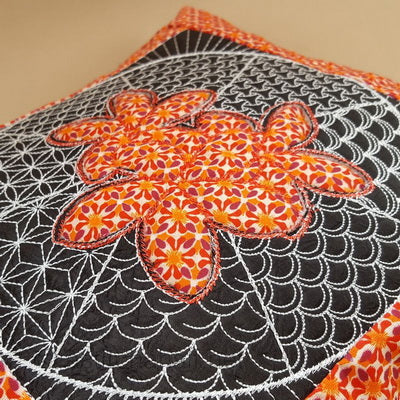
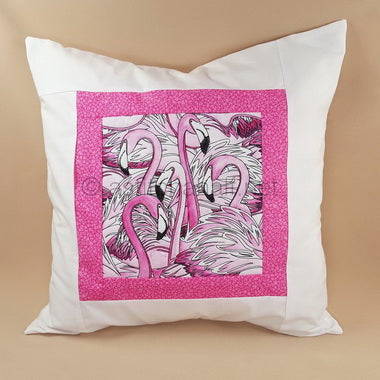
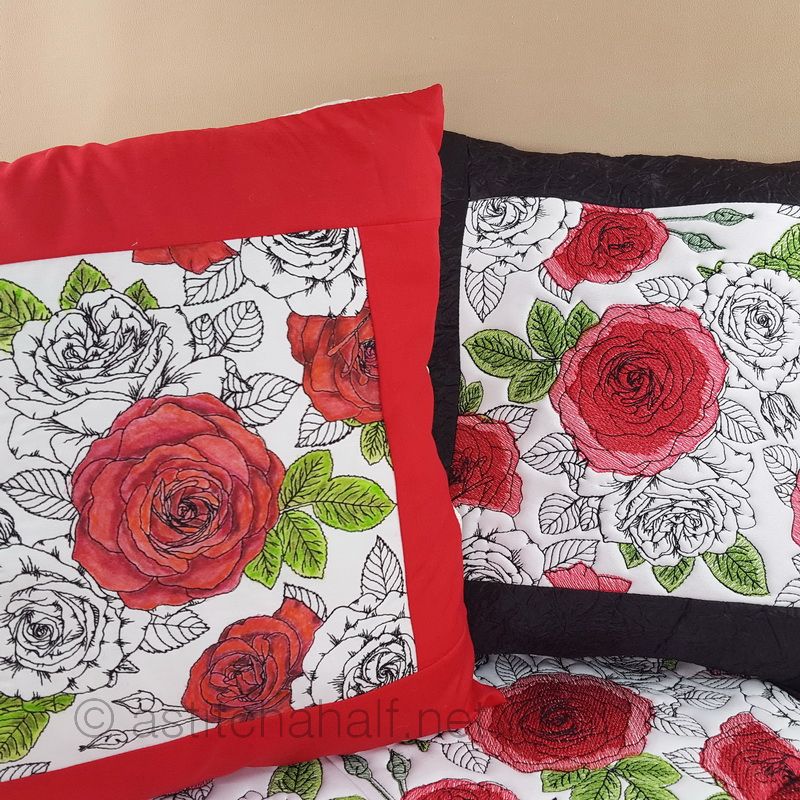
To Make a Pillow which uses the 8*8 Hoop Design You will Need:
How To: Make a Decorative Pillow Sleeve Photo Tutorial
To make the Pillow Sleeve:
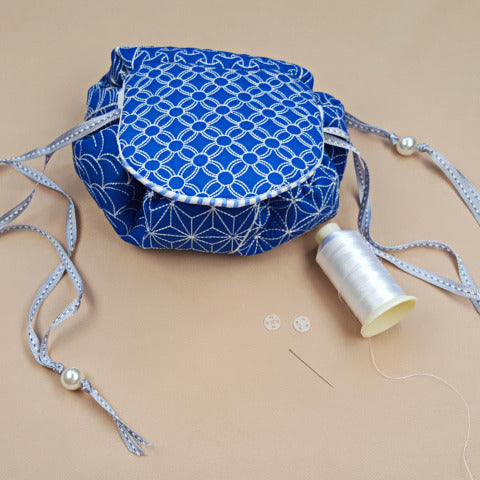
We used the Japanese Sashiko Circle bag to create this tutorial. You can create all the circle bags with this tutorial.
To make this Fully Lined Circle Bag You Need:

Embroidery:


When The design is stitched, turn hoop over, add lining to the back and stitch the last color stop.
Please note: The individual pieces will not be lined in the hoop, but after all 8 panels are joined.


Cut a 1” seam allowance once the embroidery is removed from the hoop.


The lining for the Flap will be placed ON TOP/FRONT of the hoop, as you will be turning the flap inside out.


With a straight stitch on your sewing machine, sew the flap to the inner circle


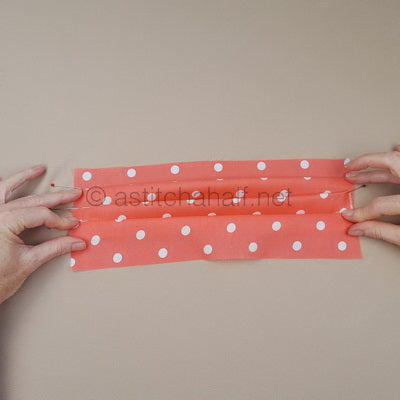
You can make your own Bias tape or use store bought bias tape. We joined 2 x 2” wide bias tape to have the desired 4” wide Bias Tape. (approx. 46” cut in half x 4” wide)


Iron bias tape flat and cut the ends. Divide each strip in half and mark with a pin. (23” strips x 2)


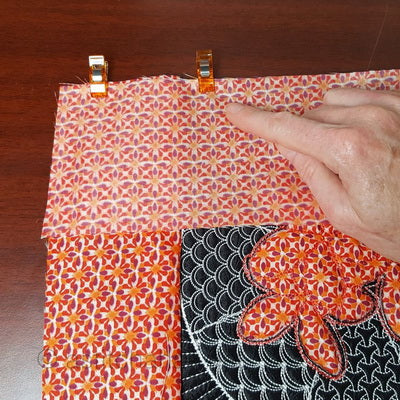
The flap will be the front, so start pinning the bias tape from the left to the right side of the flap (see image below)
Overlap the 2 sections of bias tape slightly to cover the raw edges. Secure with a straight stitch.


Fold Bias Tape over to the Back (or lined section) pin and secure with a straight stitch.


Insert your cord or ribbon from the 1 end and out the same side where you started. Do the same for the opposite
side.


Add an embellishment if you desire. We added a little pearl.

Attach the snap fasteners as shown below and your Circle Bag is Complete!


Enjoy stitching!
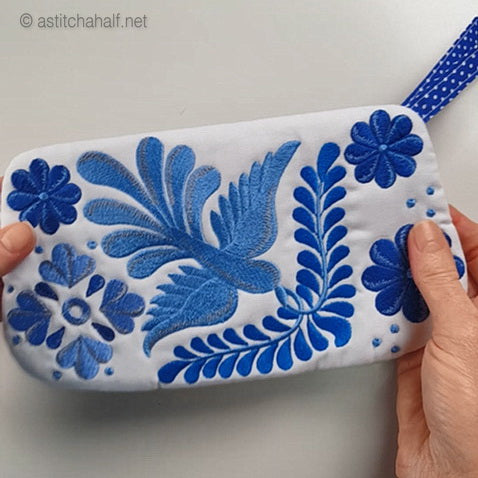
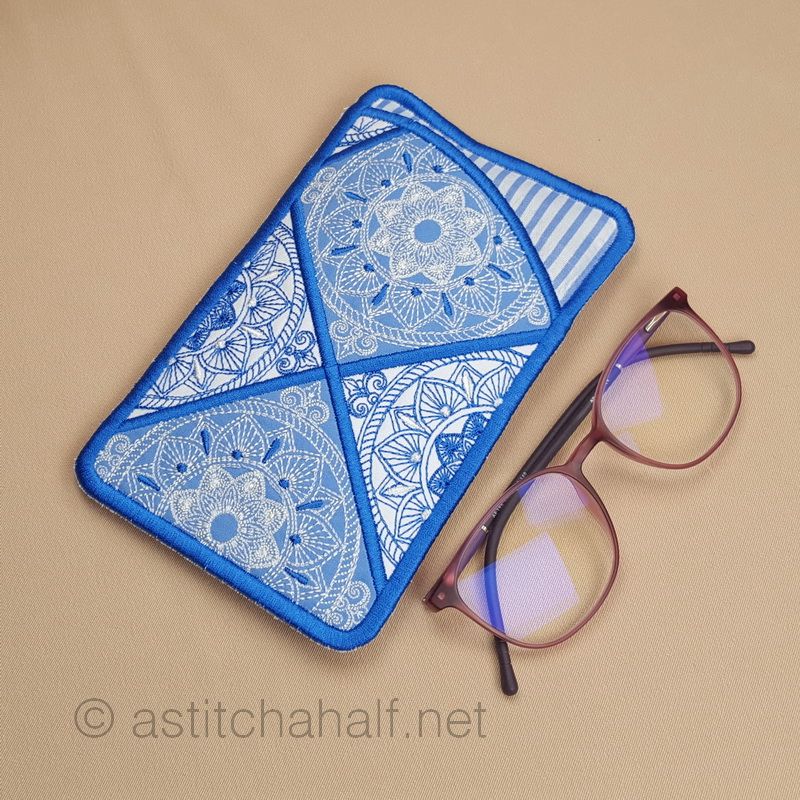
To make this Double Sided and Fully Lined Wrist Clutch You Need:
How to make the Wrist Clutch and the Fold-over Clutch Purse.
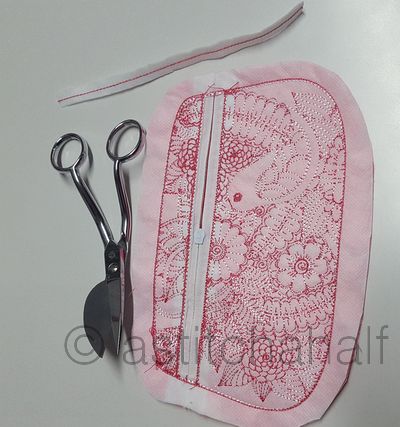
1. Hoop cut-away stabilizer. Stitch out the 1st color stop
This step will indicate where the zipper center should be placed.


